How to Apply Epoxy Floor Coating?
A Step-by-Step Guide for Durable Industrial Floors
Why do so many people choose epoxy for their concrete floors? Simple. It makes the floor tougher, more durable, and better looking. Factories, warehouses, garages, workshops — they all trust epoxy floor coating to hold up under heavy use year after year.
But here’s the reality. If you don’t prep the surface right, apply it correctly, and pay attention to the details, you’re going to end up with problems. Peeling. Bubbles. Failure.
In this guide, we’ll walk you through how to apply epoxy floor coating in a practical, point out where people screw up, and help you get a floor that looks good and lasts. Whether you’re a contractor, an engineer, or a distributor, this is the stuff you need to know.


What Is Epoxy Floor Coating and Why Is It Used?
Understanding Epoxy Floor Systems
Here’s the simple version. Epoxy floor coating is a two-part system – a resin and a hardener. You mix them together, a chemical reaction starts, and you end up with a hard, plastic-like surface that sticks to concrete like crazy.
Epoxy turns it into a high-performance surface:
- Seamless — no pores for liquids to penetrate.
- Hard — resists wear and erosion.
- Dust-free — no particles coming off the surface.
- Easy to clean — spills wipe right up.
- Protected — coating takes the abuse, not the concrete.
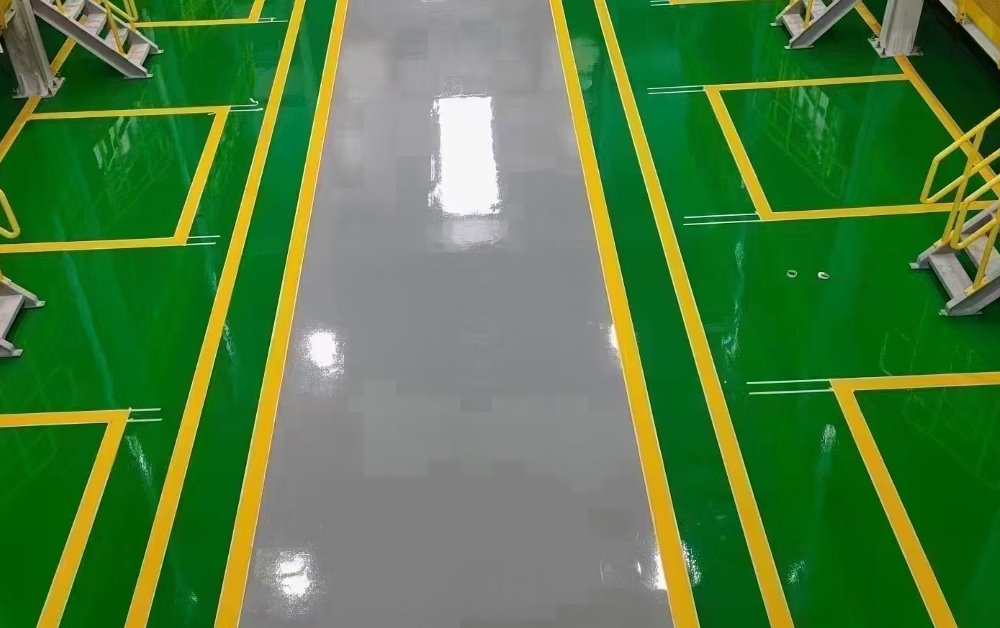
Common Applications of Epoxy Flooring
Epoxy coatings are widely used in:
- Manufacturing — Heavy equipment, constant traffic
- Warehouses — Forklifts, pallets, high abrasion
- Auto workshops — Oil, chemicals, dropped tools
- Food processing — Sanitary, easy cleaning
- Parking garages — Vehicle traffic, deicing salts
It’s versatile. It works for light-duty spaces like showrooms and heavy-duty environments like factory floors. Same system, different thicknesses and specifications.
Tools and Materials Required Before Application
Essential Materials
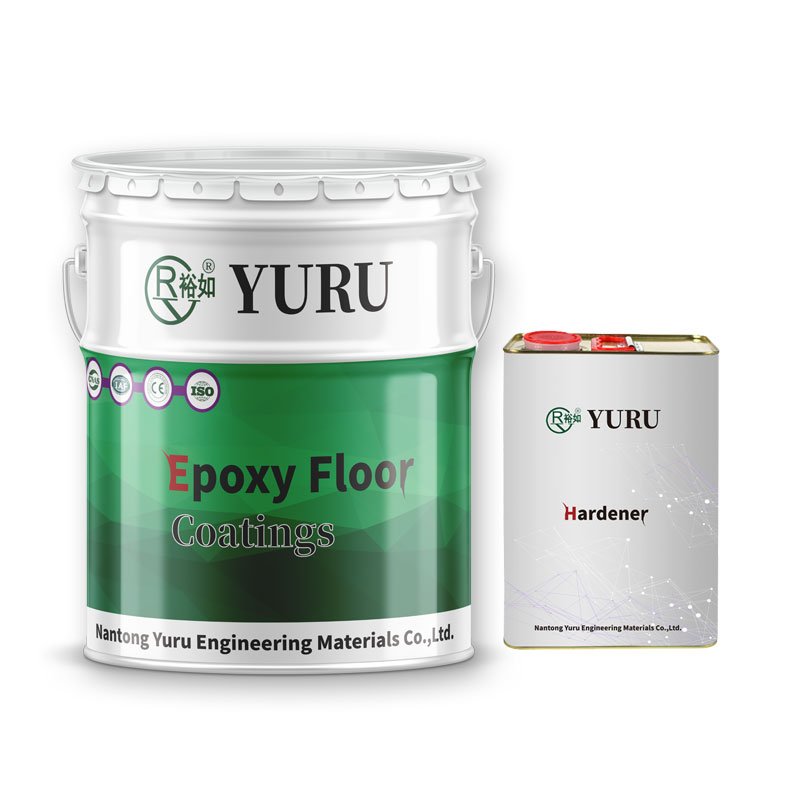
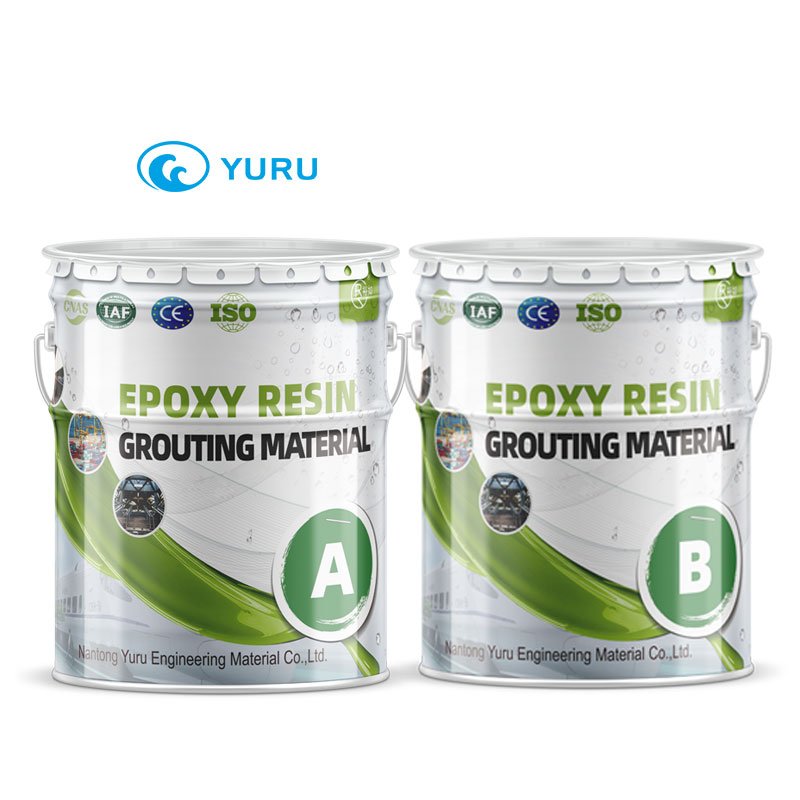
Before starting, ensure you have a complete system:
- Epoxy primer
- Epoxy intermediate (build coat)
- Epoxy topcoat
- Solvents or thinners
- Fillers
Using a compatible system is crucial for long-term performance.
Required Equipment
You’ll also need the right tools:
- Floor grinder or shot blaster
- Industrial vacuum cleaner
- Mixing drill with paddle
- Rollers and brushes
- Notched squeegee
- Spike shoes (for walking on wet coating)
Having the proper tools ensures consistent application and reduces errors.
Pre-Application Inspection and Site Conditions
Checking Concrete Strength and Moisture
| Inspection Items | Requirement |
| Concrete Age | Fully cured – minimum 28 days |
| Moisture | Within acceptable limits (test before coating) |
| Surface condition | No weak spots, cracks, or damage |
Epoxy bonds to concrete. If the concrete is weak or wet, that bond fails. Simple as that.
Evaluating Environmental Conditions
Environmental factors affect curing:
| Temperature | 10°C – 30°C |
| Relative humidity | Below 85% |
| Ventilation | Good airflow essential |
Working outside these conditions may lead to defects such as bubbling or incomplete curing.
How to Apply Epoxy Floor Coating -- Step-by-Step Guide
This section is the core of the process. Each step must be done carefully.
Step 1 – Surface Preparation
Grinding and Cleaning
- Remove everything that doesn’t belong – laitance (that weak, milky layer on top of fresh concrete), oil stains, grease, dirt, old coatings. All of it has to go.
- Create a rough surface – use a grinder or shot blaster to open up the concrete.
- Vacuum thoroughly – after grinding, you’ve got dust everywhere. Get it all. Every speck. Dust is the enemy of adhesion.
Step 2 – Crack Repair and Surface Leveling
Repairing Defects
Inspect the floor for:
- Cracks
- Holes
- Uneven areas
Fill them with epoxy repair mortar or filler to create a smooth base.
Step 3 – Primer Application
Why Primer Matters:
Primer acts as a bonding layer between concrete and epoxy coating.
- Enhances adhesion – helps the topcoats stick
- Seals pores – stops air bubbles from coming up through the concrete
- Reduces pinholes – gives you a smoother final finish
Apply the primer evenly using a roller and allow it to cure properly.
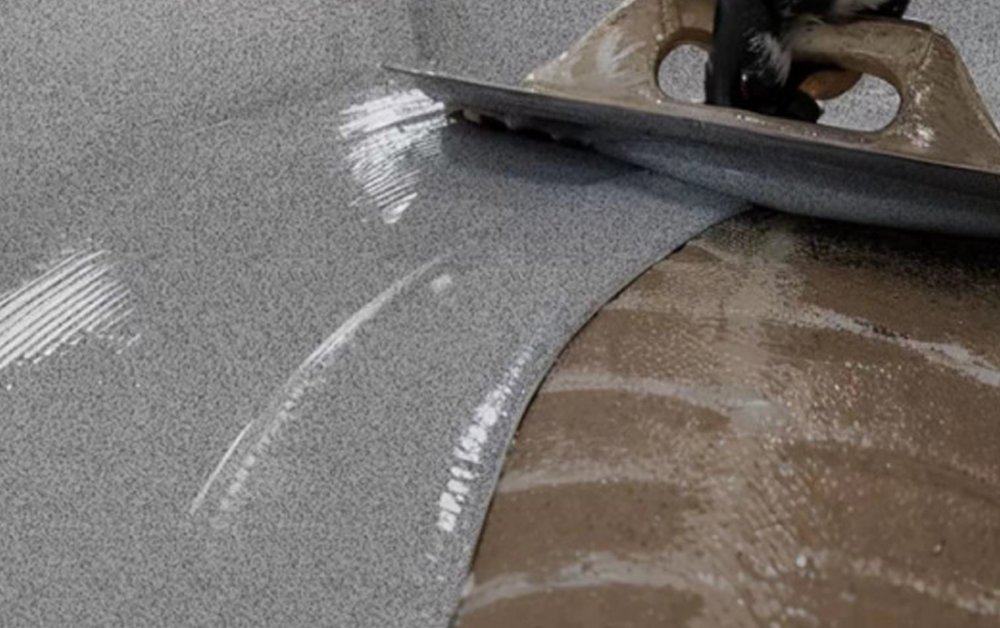
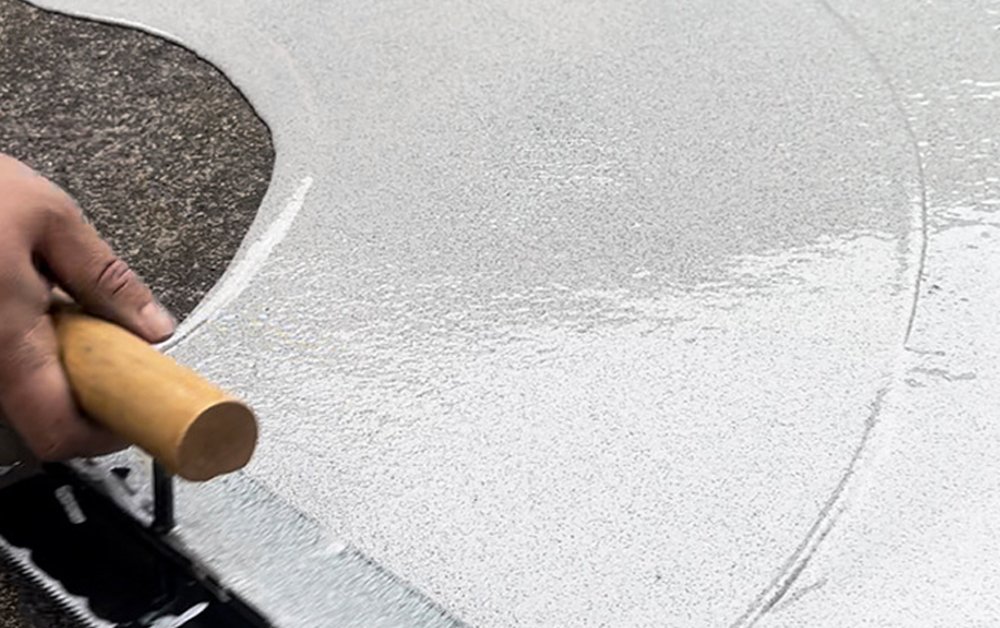
Step 4 – Intermediate Coat Application
Building Thickness and Strength
This layer is what gives an industrial floor its muscle. It adds mechanical strength and builds up the thickness you need.
- Mix with quartz sand (if your system calls for it) – this adds grip and toughness.
- Apply using a squeegee – spreads it evenly and at the right thickness.
- Ensure uniform thickness – thin spots mean weak spots.
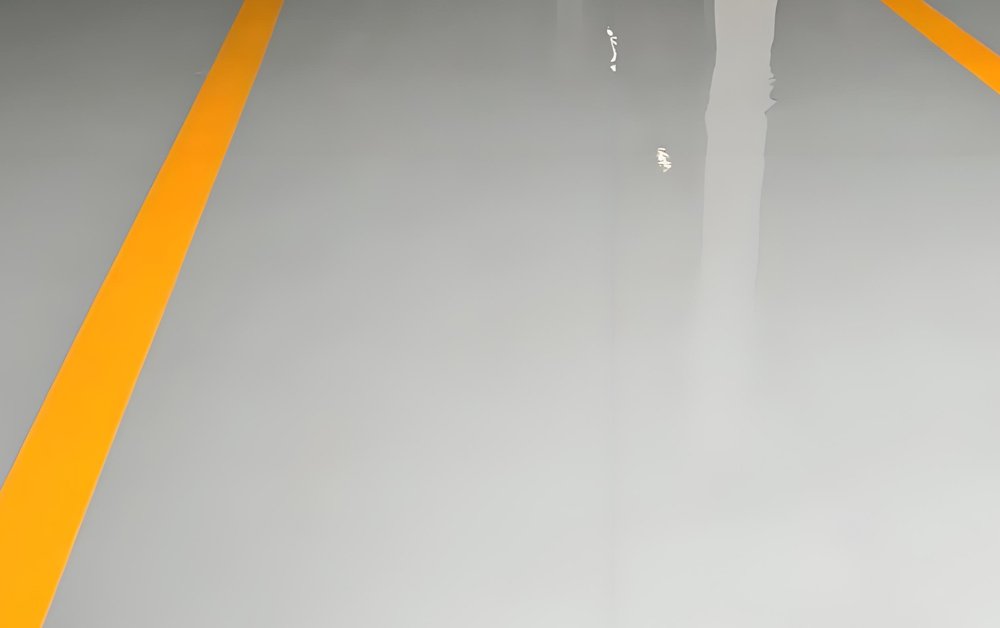
Step 5 – Topcoat Application
Final Finish and Protection
- Apply evenly with a roller – smooth, consistent coverage.
- Add anti-slip aggregates if needed – for areas where traction matters.
- Result – seamless finish, glossy or matte depending on what you need.
Step 6 – Curing and Post-Application Care
Curing Timeline
- Light foot traffic: 24 hours
- Heavy traffic: 3–7 days
- Full chemical resistance: up to 7 days
Avoid early use to prevent damage.
Common Problems During Epoxy Application and Solutions
| Problem | Cause | Solution |
| Air Bubbles | Moisture or trapped air | Proper surface prep + use primer |
| Peeling / Delamination | Poor adhesion | Improve grinding and cleaning |
| Uneven Finish | Inconsistent application | Use correct tools, maintain uniform thickness |
Tips to Improve Epoxy Floor Coating Quality
Use High-Quality Materials
Better materials provide stronger performance and longer lifespan. Over the life of the floor, the cheap stuff costs you more in repairs and replacement. Buy quality the first time.
Follow Manufacturer Instructions
Every epoxy system is different. Mixing ratios vary. Curing times vary. Temperature requirements vary. Read the instructions. Follow the mixing ratios exactly.
Work with Experienced Teams
Skilled applicators reduce errors and improve efficiency.
Maintenance of Epoxy Floors
Daily Cleaning
Use soft tools (microfiber mop, soft brush). No abrasives.
Avoid Heavy Impact
Minimize dropping heavy objects to prevent damage.
Regular Inspection
Check for wear and repair minor issues early.
How to Choose a Reliable Epoxy Supplier?
Complete Product System
A reliable supplier should offer a full range of epoxy materials.
Technical Support
Guidance on application and troubleshooting is essential.
Proven Project Experience
Look for suppliers with real-world industrial project cases.
YURU Waterproof – Your Epoxy Flooring Solution Provider
Comprehensive Epoxy Systems
YURU Waterproof provides complete epoxy floor systems, including primers, intermediate coats, and topcoats.
Engineered for Industrial Performance
Our products are designed to withstand:
- Heavy loads
- Chemical exposure
- Continuous use
OEM and Custom Solutions
We support contractors and distributors with flexible customization options.
Professional Technical Support
From selection to application, YURU ensures reliable results.
FAQs:
1. How long does epoxy floor coating last?
Typically 10–15 years with proper maintenance.
2. Can epoxy be applied on old concrete?
Yes, with proper preparation and repair.
3. How thick should epoxy coating be?
Usually 1–3 mm depending on application.
4. Is epoxy flooring waterproof?
Yes, it canwaterproof, it creates a water-resistant surface.
5. Can epoxy floors handle heavy machinery?
Yes, industrial-grade epoxy is designed for heavy loads.
Conclusion:
Applying epoxy floor coating correctly is essential. It makes it stronger, easier to clean, and better looking. But only if you do it right.
Preparation, application, curing – every step has a job to do. You can’t skip any of them and expect great results. But follow the process, pay attention to the details, and you’ll end up with a floor that performs for years.
Planning a project? YURU Waterproof can help.
- High-quality materials
- Expert guidance
- Samples | Custom solutions | Competitive pricing
YURU Product solutions