How to Apply Leak Proof Roof Coating on a Concrete Roof Correctly?
Introduction:
Many roof leaks are not caused by poor materials, but by incorrect application methods, incomplete systems, or a misunderstanding of how concrete behaves over time.
This article explains how to correctly apply a leak-proof roof coating on a concrete roof. We will walk through surface preparation, system selection, and the industry-proven “three coats and one reinforcement fabric” method that professionals rely on for long-term performance.
Why Concrete Roofs Require a Dedicated Waterproofing System?
Concrete Is Not Waterproof by Nature
The tiny capillaries in concrete lead to:
- Moisture penetration through the slab.
- Capillary absorption under hydrostatic pressure.
- Water movement and leakage even without visible cracks.
Once water enters the concrete, it is difficult to remove.
Structural Deformation is Unavoidable
Concrete roofs are subject to continuous stress from:
- Daily thermal expansion and contraction
- Seasonal temperature fluctuations
- Shrinkage during the curing process
- Structural deflection
Rigid coatings cannot accommodate this deformation.
Common Causes of Waterproofing Failure in Concrete Roofs
Based on field experience, failures are typically caused by the following:
| Common Errors | Result |
| Improper surface preparation | Loss of adhesion |
| Insufficient coating thickness | Early cracking |
| Failure to install reinforcing fabric | Crack propagation |
| Neglecting areas prone to water accumulation | Blistering |
| Using coatings that are not UV-resistant | Degradation |
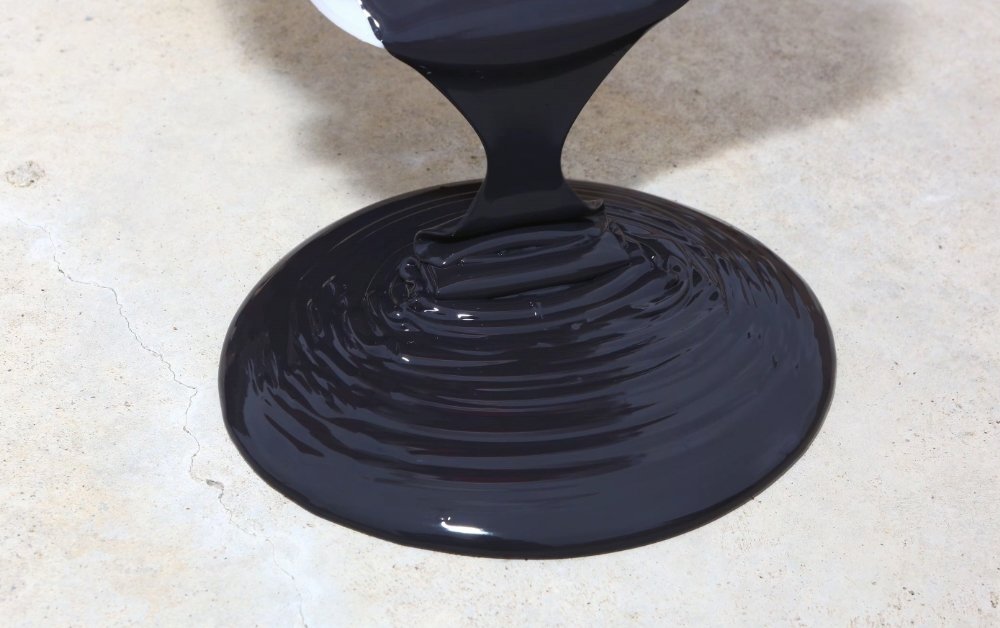
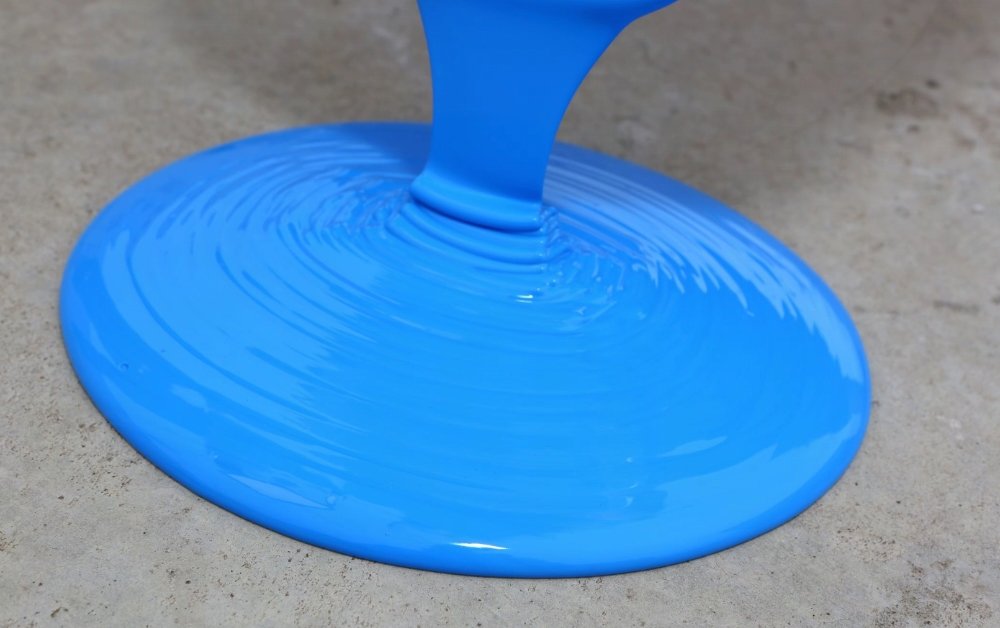
What Defines a True Leak-Proof Roof Coating?
Not all waterproof coatings are suitable for exposed concrete roofs.
Essential Performance Indicators
A reliable concrete roof coating must provide:
- High elongation (≥300%)
- Strong adhesion to cementitious substrates
- Resistance to standing water
- Weather and UV stability
- Compatibility with reinforcement fabric
Missing any of these elements compromises durability.
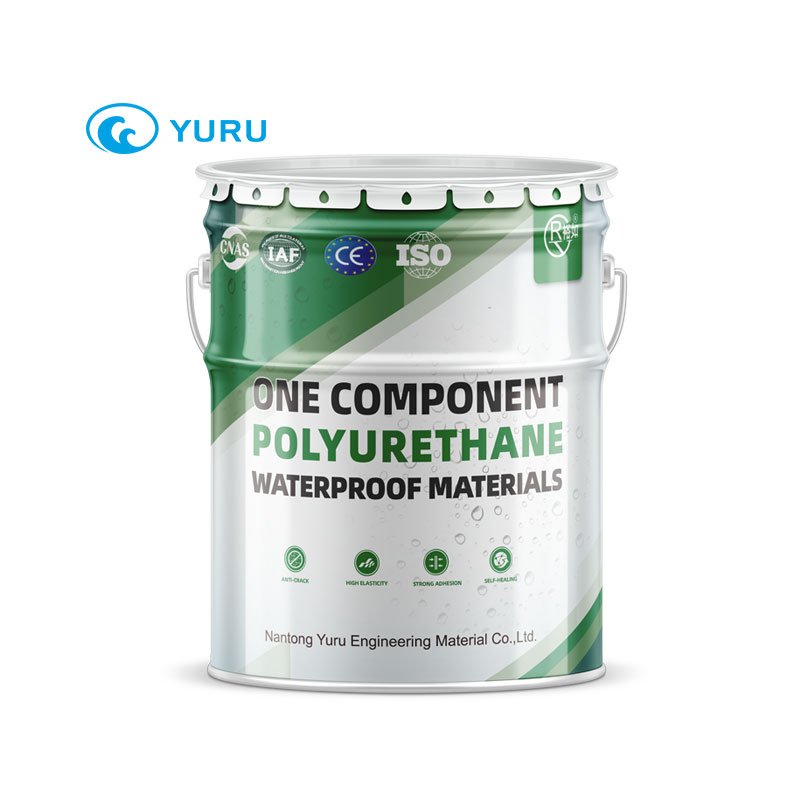
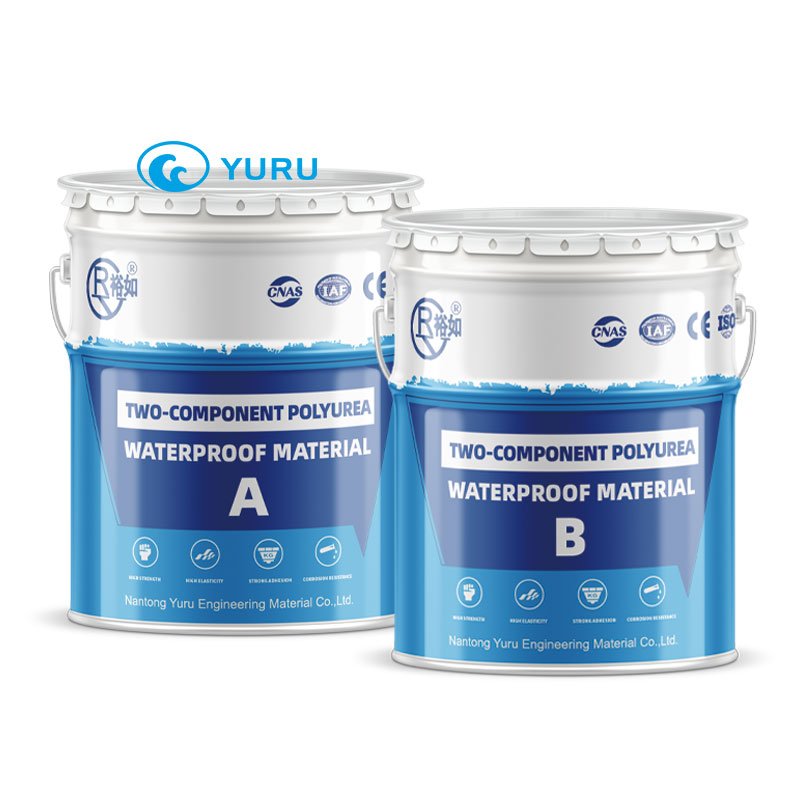
Common Coating Systems for Concrete Roofs
| Coating Type | Key Strength | Limitation |
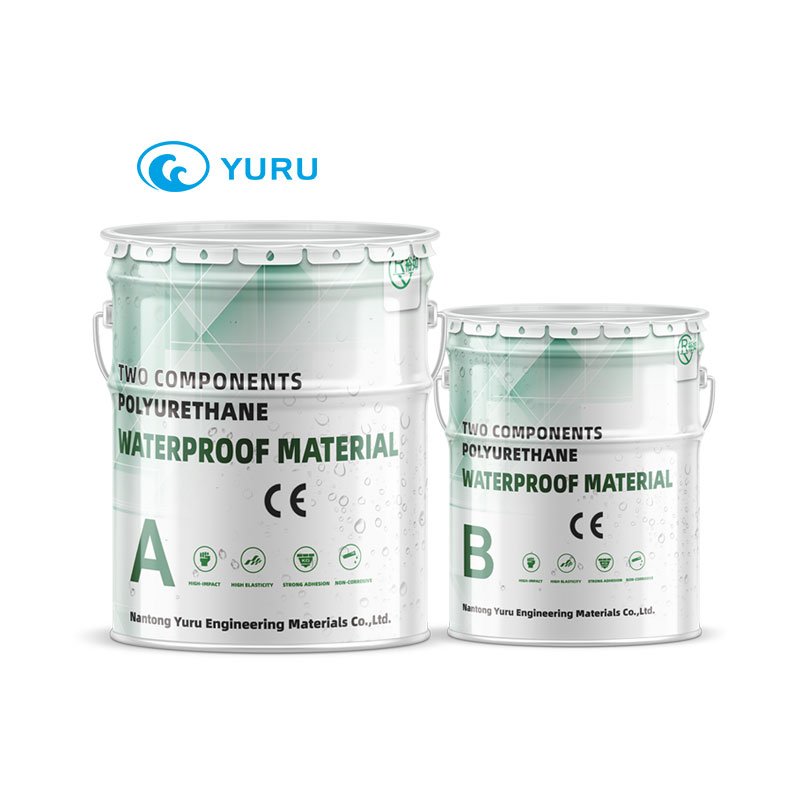
| Polyurethane | High elasticity | Needs UV protection |
| Acrylic | UV resistance | Limited ponding resistance |
| Cementitious | Strong bonding | Low flexibility |
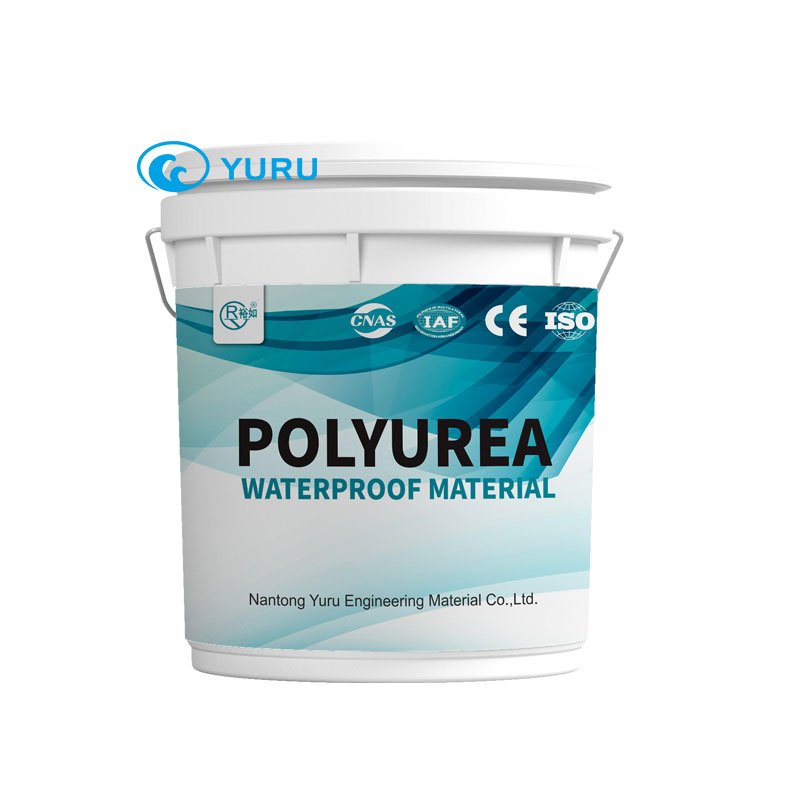
| Polyurea | Extreme durability | Higher cost |
Why “Three Coats and One Fabric” Became Industry Standard?
The three coats and one reinforcement fabric method evolved from decades of repair failures.
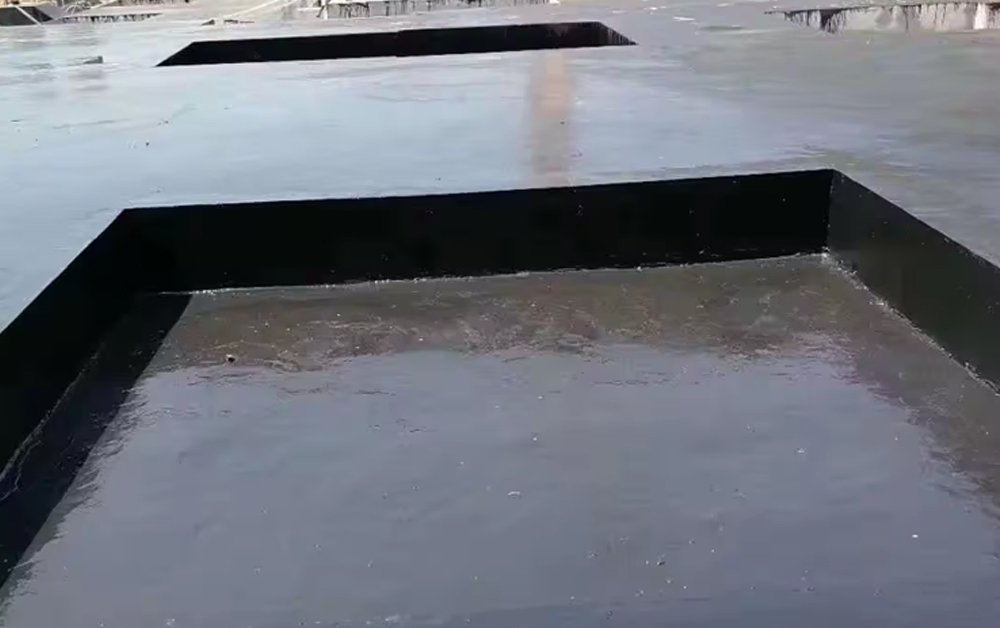
It creates a composite waterproof membrane that:
- Distributes stress evenly
- Reinforces weak areas
- Prevents crack propagation
- Extends service life significantly
This system is now widely adopted in professional waterproofing.
Understanding the “Three Coats and One Fabric” Method
Why “Three Coats and One Fabric” Became Industry Standard?
The three coats are functional layers, not decorative passes:
- First coat (primer/sealer layer)
- Second coat (reinforcement embedding layer)
- Third coat (protective and sealing layer)
Each layer has a different role.
What Is the Role of Reinforcement Fabric?
Reinforcement fabric:
- Absorbs stress at cracks and joints.
- Prevents tearing of the coating.
- Improves overall tensile strength.
Common fabric types include polyester and fiberglass mats.
Where Fabric Must Be Applied?
Fabric is mandatory at:
- Expansion joints
- Construction joints
- Drain areas
- Parapet junctions
- Crack-prone zones
These areas cannot be overlooked.
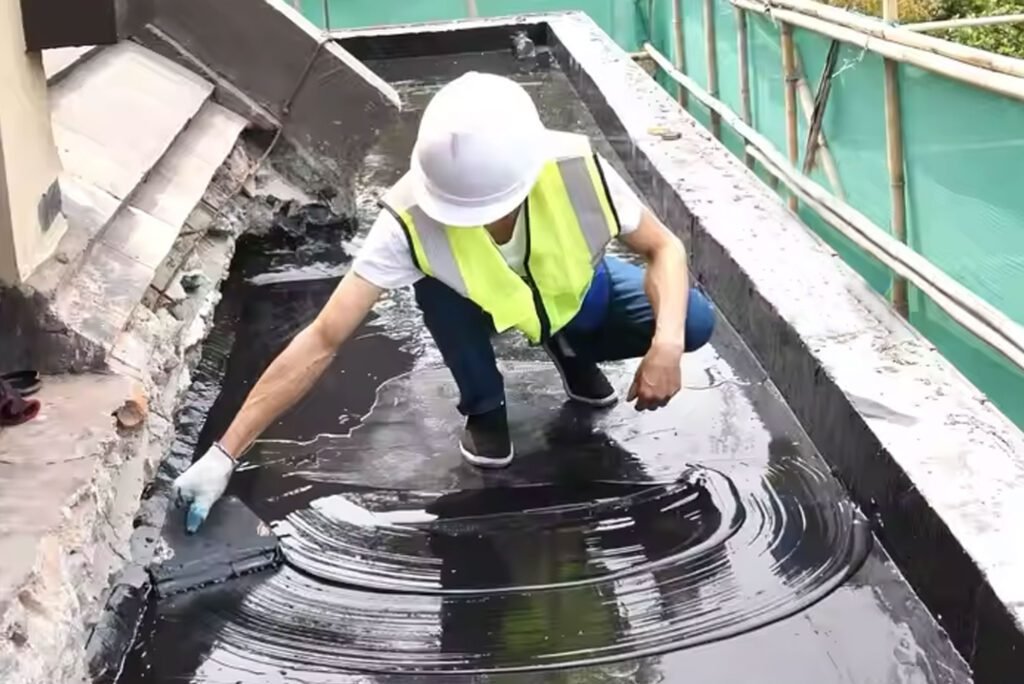
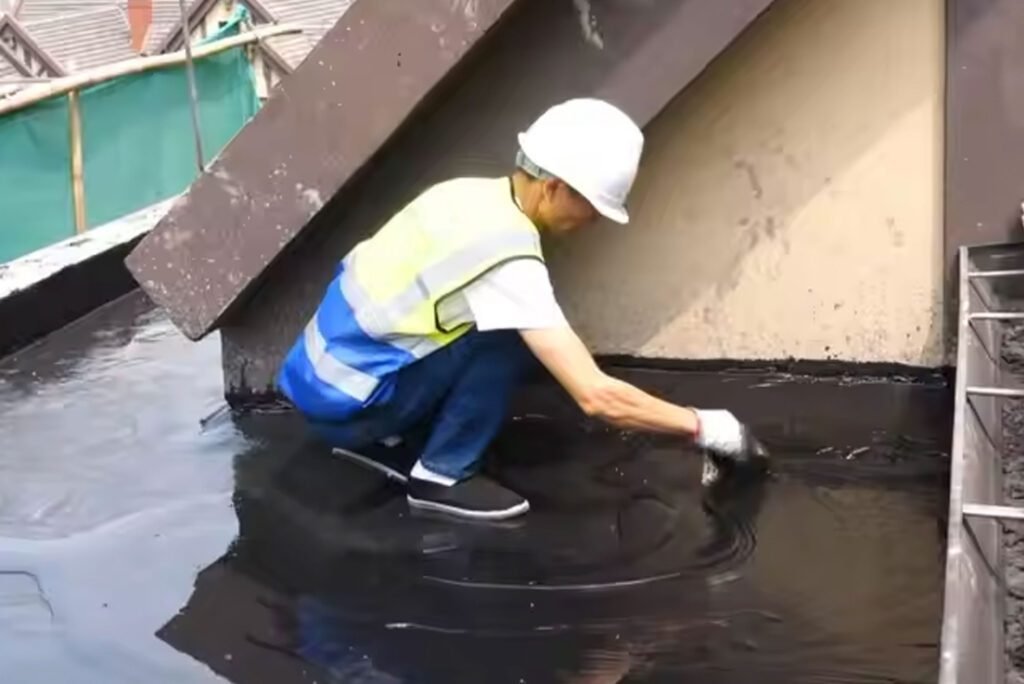
Step-by-Step Application Process on Concrete Roofs
Step 1: Surface Inspection and Repair
Before coating application:
- Remove loose concrete
- Repair cracks and honeycomb defects
- Ensure structural integrity
- Consider grout injection for significant large cracks
Step 2: Surface Cleaning and Moisture Control
The surface must be:
- Clean
- Dry
- Free of oil and dust
Residual moisture under the coating can cause blistering.
Third: Primer or First Coat Application
First coat:
- Seals pores
- Improves adhesion
- Reduces air entrapment
Must be applied evenly according to the recommended coverage rate.
Forth: Reinforcement Fabric Installation
After applying the first coat, you can:
- Lay fabric smoothly
- Avoid wrinkles and air pockets
- Overlap joints by at least 50 mm
Step 5: Final Sealing Coat
The final coat:
- Encapsulates fabric
- Provides waterproof barrier
- Offers UV and weather resistance
Thickness control is critical.
Key Technical Parameters to Monitor
| Parameter | Recommended Range |
| Total dry film thickness | 1.5–2.5 mm |
| Elongation | ≥300% |
| Adhesion strength | ≥1.0 MPa |
| Ponding resistance | ≥72 hours |
Common Application Mistakes and How to Avoid Them
- Applying too thin layers
- Rushing curing times
- Ignoring weather conditions
- Using incompatible materials
Professional waterproofing is a controlled process, not a shortcut.
Long-Term Protection and Maintenance
Exposed coatings require:
- UV-resistant top layers
- Periodic inspection
- Prompt repair of mechanical damage
Preventive maintenance extends service life significantly.
Why Professionals Choose YURU Waterproof?
YURU Waterproof provides:
- Complete roof coating systems
- Technical application guidance
- Proven performance in diverse climates
We focus on system reliability, not single products.
FAQs
1. Can leak-proof roof coatings be applied on damp concrete?
Only moisture-tolerant systems are suitable. Most require dry substrates.
2. How long does a properly applied roof coating last?
10–20 years depending on system and maintenance.
3. Is reinforcement fabric always required?
For concrete roofs, yes—especially at joints and cracks.
Conclusion
Correct roof waterproofing is not about using more material.
It is about using the right system, applied correctly.
Contact YURU Waterproof for project-specific coating recommendations, technical datasheets, and sample support.
YURU Product solutions