How Should Hole Spacing and Drill Depth Be Planned for Liquid DPC Injection?
Different chemical DPC systems do not always use the same drilling pattern. A spacing or drill depth specified for one injection cream should not automatically be copied to a professional liquid DPC system.
Hole spacing, drill depth, wall thickness and the selected DPC system need to be considered together. The aim is not simply to drill holes at a familiar distance. The drilling layout needs to support the way the selected product is intended to enter and treat the masonry.
For contractors and technical buyers, that makes the product specification the starting point — not a generic “standard DPC spacing” copied from another system.
Quick Answer: How Far Apart Should DPC Injection Holes Be?
There is no single hole spacing that works for every chemical DPC system.
For the current YURU liquid DPC system, our starting reference is:
- Hole diameter: about 12 mm
- Hole spacing: about 10–12 cm
- Hole depth: about two-thirds of the wall thickness
- Application: pressure injection or gravity feed
These figures apply to the current YURU product guidance.
Other DPC products may use a different layout. For example, one widely used injection cream specifies holes no more than 120 mm apart, while a commercial water-based liquid DPC specifies spacing up to 150 mm.
So if you are changing from one DPC product to another, do not carry the old drilling pattern across automatically.
Start with the product you are actually going to inject.
Why Does DPC Hole Spacing Matter?
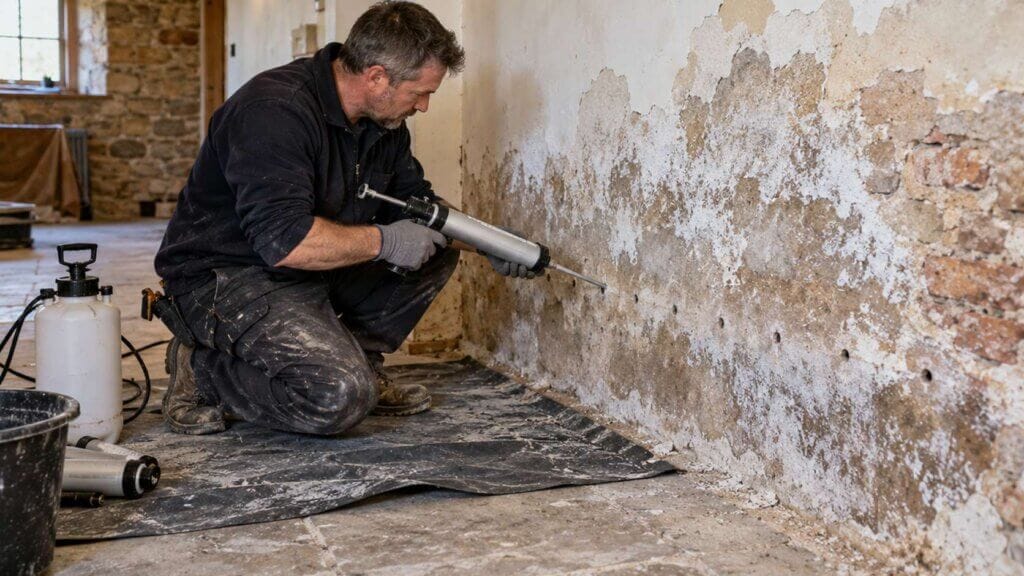
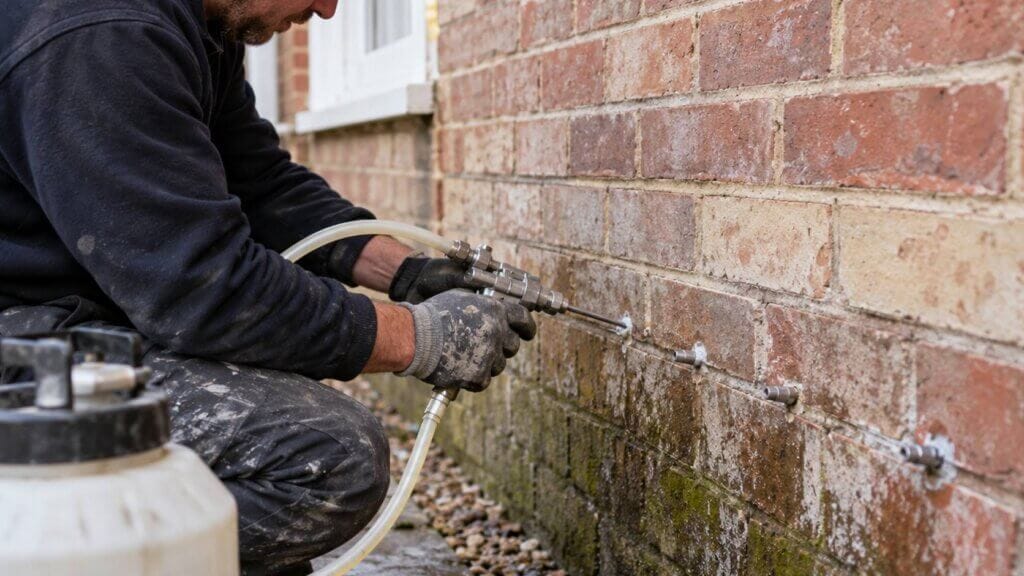
The purpose of the holes is not simply to create a neat line across the wall.
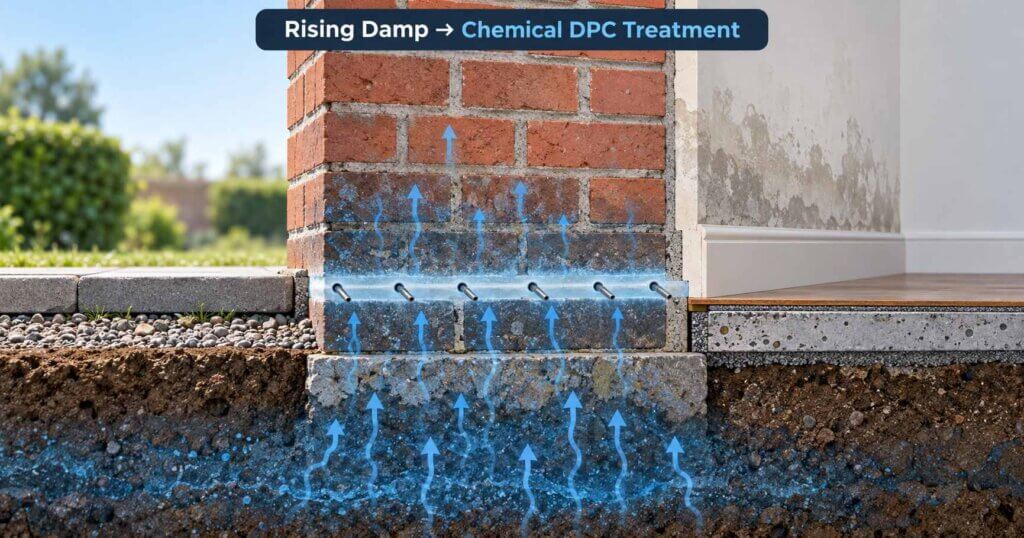
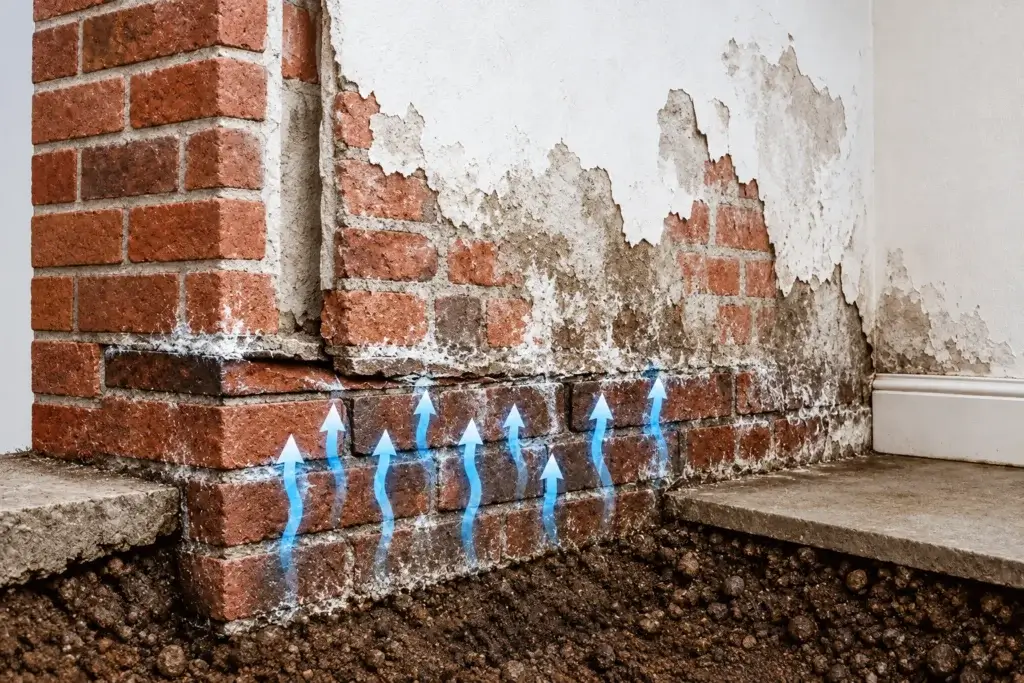
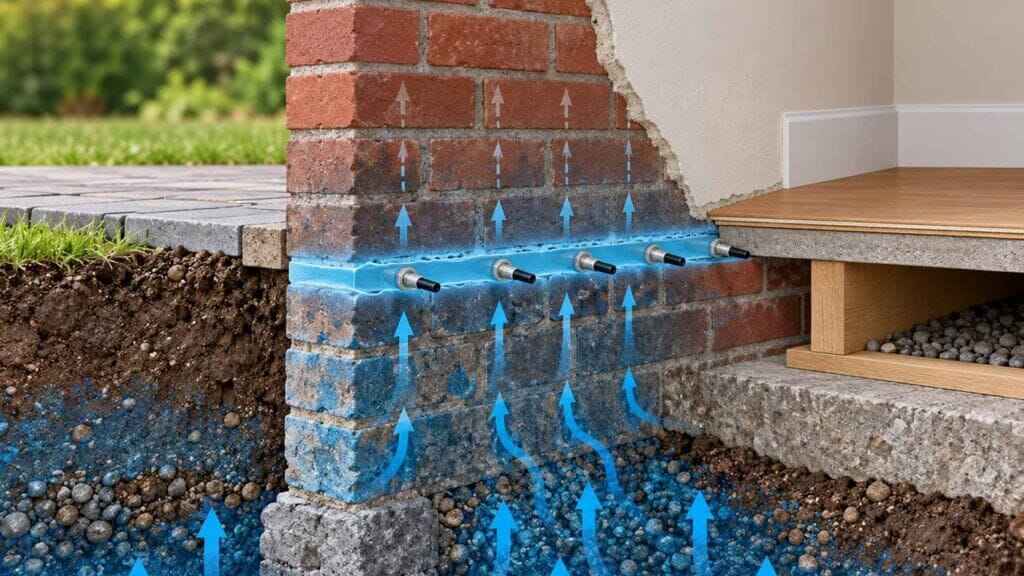
Each injection point needs to help develop the treated area between one hole and the next. If the treatment remains concentrated only around individual holes, untreated sections can remain between them.
Professional guidance on chemical DPC assessment shows exactly this type of difference: an adequately treated wall can show a continuous horizontal treated band, while incomplete treatment may leave separate treated patches around the injection points.
That is why spacing matters. But spacing is only part of the job.
A 100 mm pattern does not automatically perform better than a 120 mm pattern. The result also depends on the product, the amount introduced, the wall material and how well the liquid can move through the masonry.
A more useful way to think about it is:
Hole spacing → liquid introduced into the wall → treated areas develop between injection points → a more continuous DPC line can form
This is also why we would not recommend changing the spacing simply because “closer must be better.” Follow the system you are using first, then check whether the actual wall needs a different review.
How Deep Should DPC Injection Holes Be?
Drill depth starts with one simple measurement:
How thick is the wall?
Once you know that, check the depth required by the DPC material you’re using.
Different products handle this differently.
Some injection creams are drilled almost through the full wall thickness. For example, a 220 mm wall may use a hole around 190 mm deep under one cream system.
YURU liquid DPC uses a different starting reference:
- approximately two-thirds of the wall thickness.
So for YURU, drill depth should not be copied from a cream product simply because both products are used for rising damp.
The wall thickness tells you what you are working with. The product instructions tell you how that thickness should be treated.
A thicker wall also changes more than drill depth
With a thicker wall, you also need to think about:
- how far the liquid needs to travel;
- how uniform the wall is internally;
- whether the wall can be treated from the planned side;
- whether there are cavities or rubble inside;
- and how much material the wall may require.
So confirm wall thickness before drilling — not after the first few holes.
Why Do Different DPC Products Use Different Drilling Patterns?
This is where a lot of confusion comes from.
Contractors often compare two products that are both sold for rising damp and expect the installation instructions to look almost identical.
They may not.
A DPC cream, a water-based injection fluid and a professional high-fluidity liquid system can all be used to create a remedial chemical DPC, but they are not necessarily introduced into the wall in the same way.
That affects the drilling instructions.
For example, the Sika cream system uses a maximum 120 mm horizontal spacing and drills directly into the selected mortar course. Bostik’s AquaJect liquid system allows holes up to 150 mm apart and provides different drilling guidance for its fluid injection process.
The useful takeaway is simple:
Use the drilling pattern designed for the product in front of you.
There is little value in asking whether 100 mm, 120 mm or 150 mm is the “correct” DPC spacing without first identifying the product and wall.
This matters even more when comparing liquid DPC injection vs DPC cream. Product form is only one part of the decision; the application route and wall construction also matter.
How Does the Wall Change the Drilling Plan?
A clean, regular brick wall is much easier to plan than a thick rubble wall with voids inside.
The same product might be listed for several masonry types — but that doesn’t mean every wall uses the same drilling layout.
Solid masonry
Where the wall is regular, thickness is known, and masonry is reasonably consistent, the product’s standard spacing and depth provide a practical starting point.
This is the easiest case.
You confirm:
product → wall thickness → spacing → depth
and then check that the site conditions match the application instructions.
Cavity walls
A cavity changes the wall section.
Prior to finalising hole depth, determine whether treatment targets one leaf, both leaves, or a cavity-specific system.
The total external wall thickness should not be treated as a single solid masonry block.
The cavity has to be understood first.
Stone, rubble and irregular masonry
These walls need more attention.
You may have:
- different wall thicknesses along the same elevation;
- large internal voids;
- loose rubble;
- mixed stone and mortar;
- old repairs;
- blocked drilling paths.
Repeating the same hole depth every 100 or 120 mm may look tidy — but tells you little about what’s happening inside.
Even manufacturer guidance for established DPC systems changes with rubble infill, varying stone thickness, or blocked holes.
For these walls, check the construction before you treat the standard drilling pattern as final.
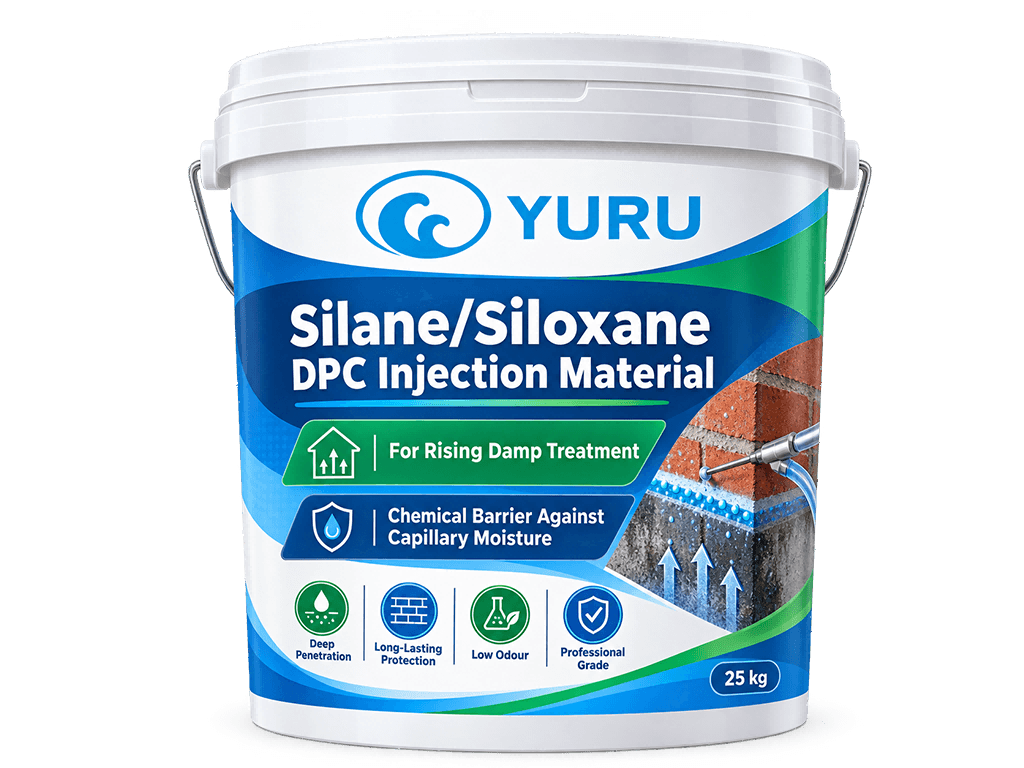
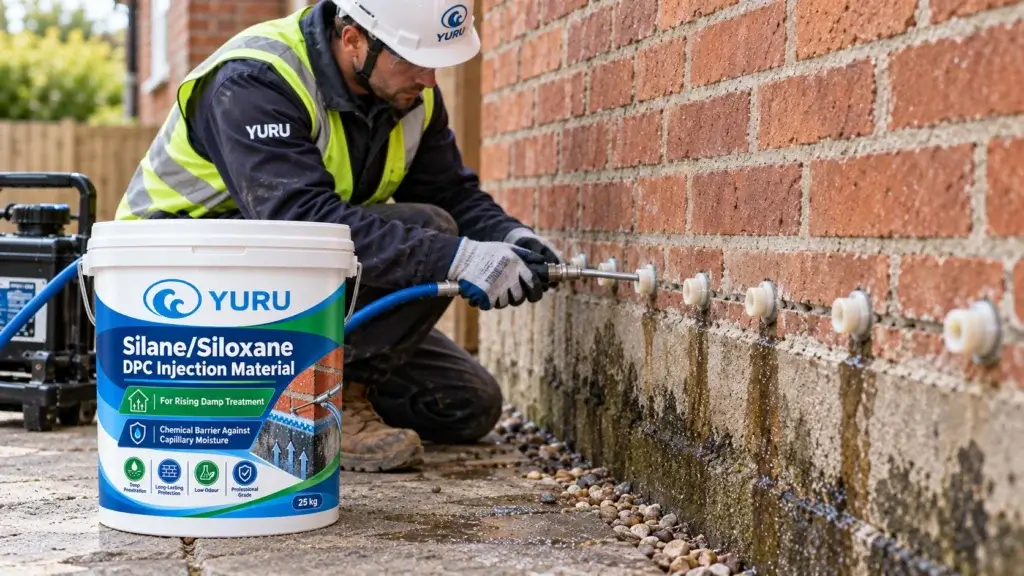
YURU Liquid DPC Drilling Reference
For the current YURU Premium Silane/Siloxane DPC Injection Material, we use the following starting reference:
| Item | YURU Reference |
| Product form | High-fluidity liquid |
| Hole diameter | Approx. 12 mm |
| Hole spacing | Approx. 10–12 cm |
| Hole depth | Approx. 2/3 of wall thickness |
| Application | Pressure or gravity |
YURU’s DPC material is a single-component liquid system with high fluidity and is intended for professional chemical DPC treatment against capillary rising damp. Current product information includes applications to masonry such as red brick, concrete block, stone masonry, clay/hollow brick and cavity/rubble masonry.
For a regular wall with known thickness and construction, these figures give the contractor a clear place to start.
For an irregular wall, they should be combined with what you actually find on site.
That difference matters.
A product can be suitable for rubble masonry, for example, while a particular rubble wall still needs a closer look because of large voids, changing thickness or an uncertain internal structure.
When Should You Stop Using the Standard Pattern?
Most contractors do not need to redesign the drilling layout for every normal wall.
But there are a few situations where I would stop and check before continuing.
The wall thickness keeps changing
If one section is 250 mm thick and another is much thicker, one drill-depth setting may not suit the whole treatment line.
You keep hitting voids
Repeated voids are a sign that the wall may not be as regular internally as it appears from the surface.
That is especially common in rubble or mixed masonry.
The wall contains a cavity
Confirm what part of the wall needs treatment before deciding what “two-thirds of the wall thickness” means for that construction.
Drilling keeps meeting unexpected material
Old repairs, dense stone, loose rubble or previous alterations can change the route of the holes.
The dimensions came from another manufacturer's product
This is an easy one to fix.
If the 120 mm spacing came from a cream data sheet but you are now using a different liquid DPC, go back to the instructions for the liquid product.
Do not build the application plan around a number that belongs to another system.
What Should You Check Before Injection?
Before drilling a full treatment line, confirm these points:
| Check | What you need to know |
| DPC product | Which product are you actually using? |
| Wall material | Brick, block, stone, rubble or mixed masonry? |
| Wall thickness | What is the real thickness at the treatment area? |
| Wall construction | Solid wall, cavity wall or irregular construction? |
| Hole spacing | What does the selected product recommend? |
| Hole depth | How does that product relate depth to wall thickness? |
| Application route | Pressure injection or gravity feed? |
| Internal condition | Are there known voids, rubble or obstructions? |
Where all parameters are confirmed and the wall is regular, the product’s standard drilling pattern is typically the logical starting point.
Where several parameters remain uncertain, layout verification should precede injection rather than post-injection remediation.
For YURU projects, the decision can be kept quite simple:
Regular wall + confirmed thickness
→ Start from the YURU product reference.
Cavity / rubble / major voids / changing thickness
→ Review the wall before fixing the final layout.
Pressure or gravity method not yet decided
→ Confirm the application method first.
Wall construction unclear
→ Send photos and wall details for technical review.
Does Pressure or Gravity Change the Decision?
It can.
YURU liquid DPC can be introduced by pressure injection or gravity feed.
The drilling layout and the way liquid is delivered should therefore be considered together.
If you are still deciding between the two methods, compare pressure injection and gravity feed before finalising the application plan.
There is no need to treat “liquid DPC” as if it automatically means one injection method.
Frequently Asked Questions
How far apart should DPC injection holes be?
Use the spacing specified for the DPC product you are installing.
For the current YURU liquid DPC system, the starting reference is approximately 10–12 cm between holes.
Other products may use a different spacing.
How deep should I drill for liquid DPC injection?
The wall thickness and the selected product both matter.
For YURU liquid DPC, the current reference is approximately two-thirds of the wall thickness.
If the wall is irregular, contains large voids or changes significantly in thickness, check the layout before applying the normal depth throughout the project.
Is 120 mm the standard DPC injection spacing?
It is a common figure in some injection-cream systems, but it is not a universal DPC spacing.
Other liquid and professional injection systems use different drilling layouts.
Can I use the same drilling pattern for brick, stone and rubble walls?
Not automatically.
Regular brick, solid stone, and rubble-filled walls may behave very differently during drilling and injection.
Start with product guidance, then check whether the wall construction allows that pattern normally.
Planning a Liquid DPC Project?
If you are considering YURU liquid DPC, you do not need to send us a long technical report.
The most useful information is:
wall material + wall thickness + wall length + a few site photos + planned pressure or gravity application.
If the wall contains rubble, cavities or anything unusual, include that as well.
From there, we can help you check the current YURU application reference, estimate the material quantity and confirm whether the standard drilling layout is a suitable starting point for the project.
YURU Product solutions