Epoxy Colored Sand Paint Construction Guide: Avoid Defects
Introduction
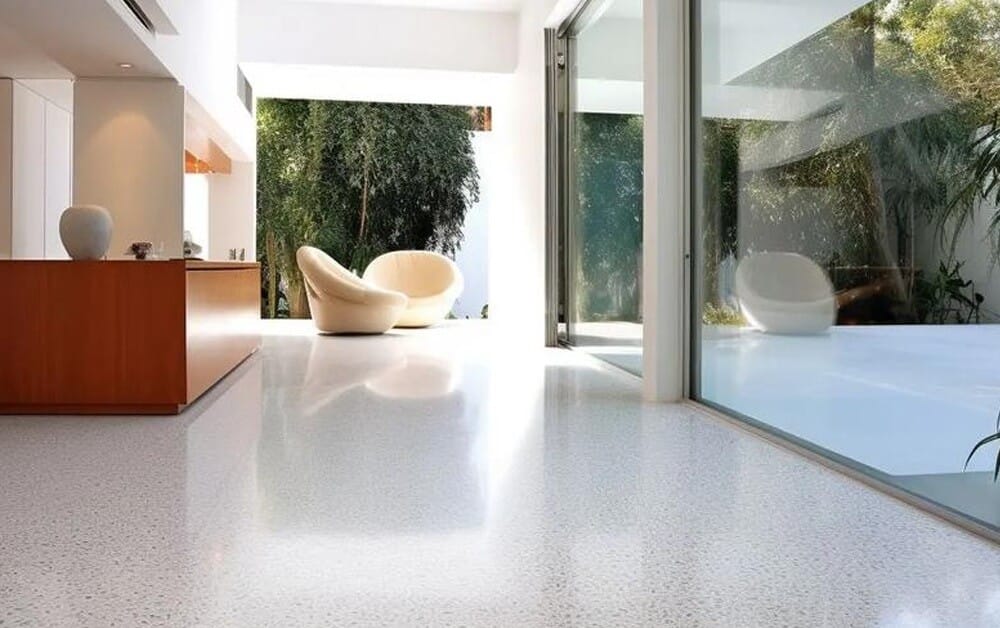
A smooth, even epoxy colored sand floor depends on what happens before and during application. Poor substrate preparation, inaccurate mixing, or a batch that sits too long can leave visible marks, bubbles, or areas that don’t cure properly. On a large floor, these problems are especially noticeable when one section meets another.
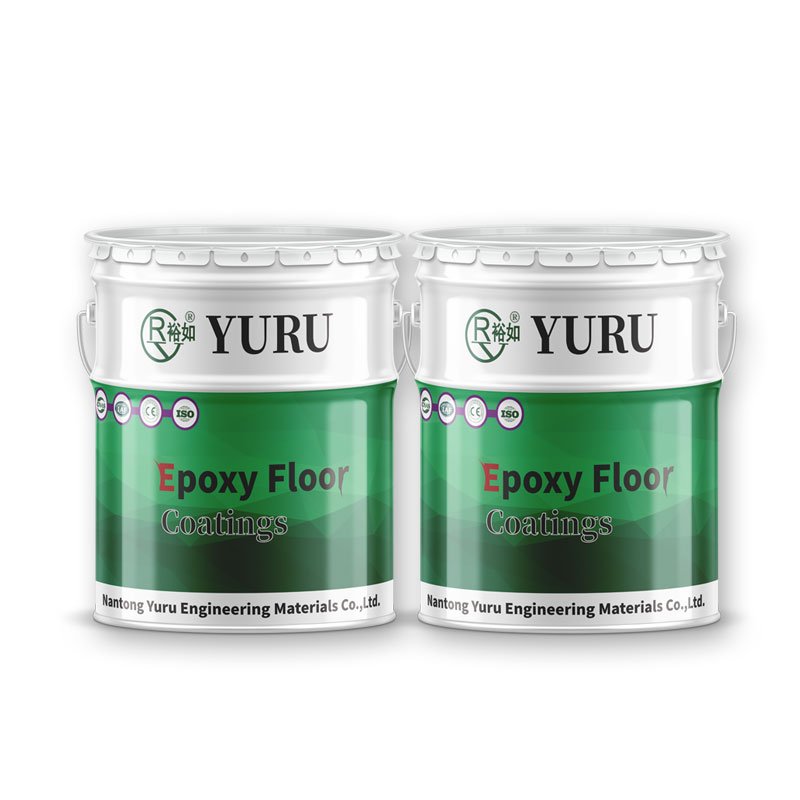
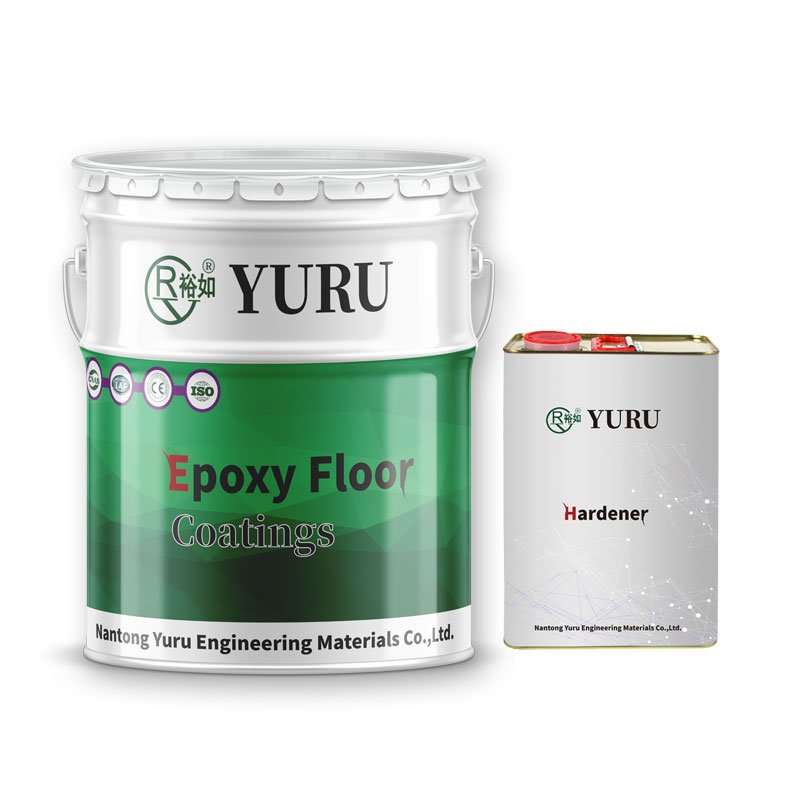
At YURU Waterproof, our Epoxy Colored Sand Self-Leveling Floor Paint (EFS-1) is a two-component coating with colored sand already incorporated into the material. During application, simply mix the two-component material thoroughly and apply it directly to the floor; there is no need for any additional sand-spreading step.
This guide covers the basic construction process and the site conditions that deserve attention. It also explains how to investigate common defects and what to check before handing over the finished floor.

What Should Be Checked Before Epoxy Colored Sand Floor Construction?
Before you begin using the materials, you must inspect the concrete substrate. Even if your application process is flawless and follows all standards, a poorly prepared substrate — such as one that lacks sufficient strength, is contaminated, or is excessively damp — will lead to an unsatisfactory outcome or even total failure.
Is the Concrete Substrate Ready for Coating?
YURU’s EFS-1 technical data sheet specifies a substrate strength of at least C25 and a moisture content of 4% or less.
The floor surface must be ground and cleaned to remove dust, loose particles, oil stains, and other contaminants. Depressions or damaged areas should be repaired using materials compatible with the specific flooring system being installed.
Existing factory floors deserve particular attention. Oil may have penetrated the concrete, and an old coating can look sound while having poor adhesion underneath. Any questionable areas should be investigated during preparation.
Cracks need their own assessment. Minor surface defects and moving or structural cracks may require different repair methods. Follow the project’s substrate repair specification before covering them with epoxy.
Moisture is another reason to delay application. If the concrete has not been checked, or the result cannot establish compliance with the product requirement, the floor is not ready for coating.
EFS-1 data sheet: 4% moisture limit. Concrete moisture tests don’t all measure the same property. For example, ASTM F2170 measures internal relative humidity — different from a material moisture-content percentage. Establish the appropriate test and acceptance criteria for the project.
Are Temperature and Humidity Within the Required Range?
The specified application temperature for EFS-1 is 5–35°C, with relative humidity below 85%.
Check conditions in the working area. A large warehouse may have different temperatures near its loading doors and in enclosed sections. Moisture or condensation can also develop after an earlier substrate inspection.
A compatible epoxy primer is recommended in YURU’s flooring system. Its selection, application, and recoat requirements should match the prepared substrate and the approved system specification.
Installers also need proper protection. EFS-1 is solvent-free, but uncured epoxy materials still require careful handling. Provide adequate ventilation, wear suitable gloves and eye protection, and avoid direct skin contact.
How to Apply Epoxy Colored Sand Floor Paint: Step-by-Step Guide
The application process for EFS-1 epoxy colored-sand flooring consists of the following six steps:
- Step 1 – Concrete Prep. Grind and clean — free of contaminants and dry enough. Repair damaged or uneven areas first.
- Step 2 – Application of Primer. Apply the specified epoxy primer to the prepared substrate and allow it to reach the condition required for subsequent coating layers.
- Step 3 – Mixing Components A and B. Combine components A and B at a weight ratio of 7:1 and mix thoroughly. The EFS-1 material comes with colored sand pre-mixed; no additional sand is required.
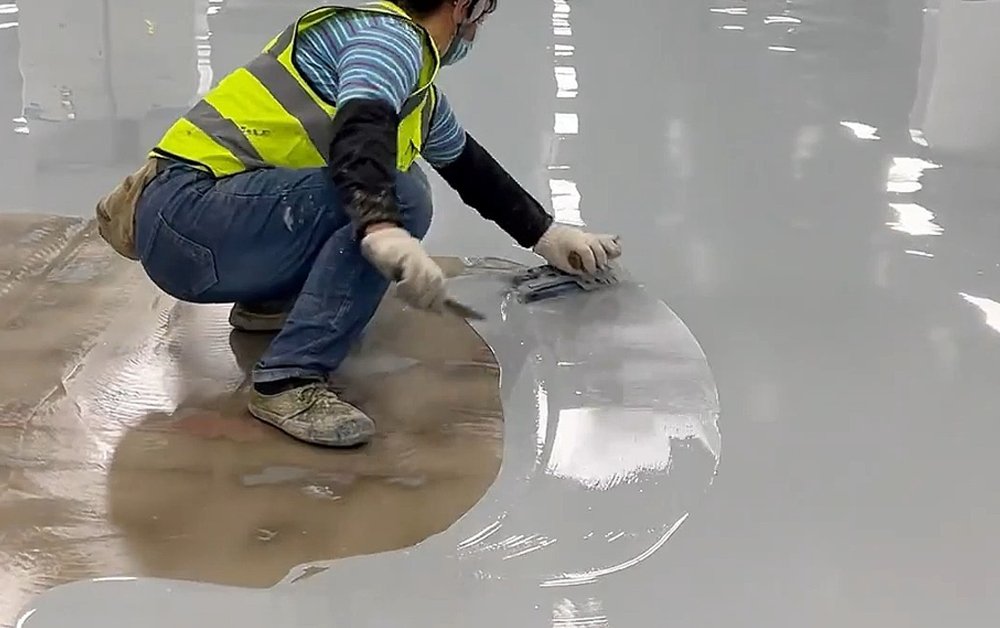
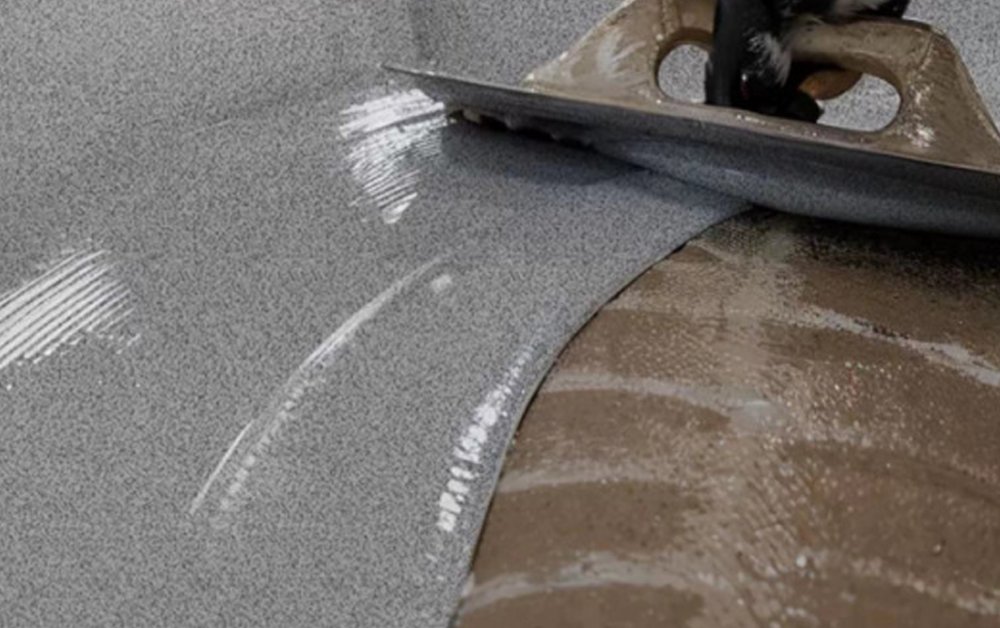
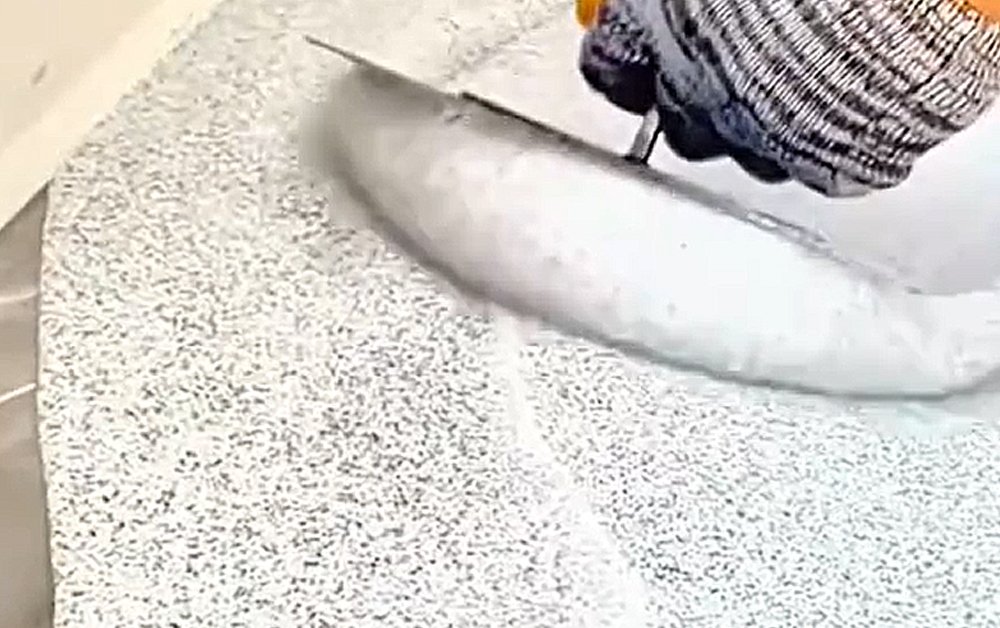
- Step 4 – Pouring and Spreading. Pour the mixed material onto the prepared substrate in batches. Distribute evenly to the specified thickness using a squeegee or other appropriate tools.
- Step 5 – Curing. Let the flooring cure. Keep the surface clean and protected from water, dust, and solvents. No premature walking or traffic during curing.
- Step 6 – Final Inspection. Check the surface for uneven color, bubbles, scraper marks, or areas that haven’t cured properly.
Specific requirements regarding coating thickness, primer selection, and application tools should be determined based on the unique conditions of each project.
Why Does Mixing Cause Uneven Color or Incomplete Curing?
When one part of an epoxy floor stays soft while the surrounding area cures normally, check the mixing process. An incorrect proportion can cause trouble — but so can material that was measured correctly and never blended properly.
Correct Mixing Ratio vs Thorough Mixing
YURU’s colored sand flooring EFS-1 requires 7 parts of Component A to 1 part of Component B by weight. Both components should be weighed accurately before mixing.
Adding extra curing agent is not an appropriate method for shortening curing time. It alters specified proportions and may result in cracking or incomplete curing. Water must not be added either.
The mixture must be uniform throughout the container, including material adjacent to sides and bottom.
This detail is easily overlooked. Where poorly mixed material remains around the bucket and is transferred onto the floor, a local patch may cure differently from the remainder.
Sika’s Sikafloor-264 technical guidance describes similar problems associated with incorrect mixing ratios and incomplete blending in its epoxy system.
Why Can the Colored Sand Appearance Become Uneven?
An inconsistent color or texture doesn’t always mean the colored sand itself is defective.
Mixed material must be spread at consistent thickness. Variations between adjacent sections, changes in mixing procedure, or differences between supplied batches may affect post-cure appearance.
Prior to commencing a large decorative floor, verify that delivered materials correspond to required color and product specification. Maintain consistent mixing and application procedures across the working area.
Where color difference becomes visible, review placement of affected sections and batches used. This information may prove more useful than assessing finished appearance alone.


How Does Working Time Affect Large-Area Flooring Installation?
EFS-1 has a working time of about 30–40 minutes. The curing reaction starts once the two components are combined — so part of that time goes to mixing, transporting, and placing the material.
A crew working across a large floor needs to plan around those minutes.
How Much Material Should Be Mixed at One Time?
The batch should be small enough for your workers to place and spread while it stays workable.
Mixing a big quantity may save a few prep steps — but it creates a problem if the team can’t finish applying before it starts to stiffen.
Temperature makes planning even more important. YURU’s instructions recommend quicker use in hot summer conditions — about 20 minutes as a practical reference. Actual working time depends on temperature, mixed quantity, and site conditions.
Before combining components, have tools, mixing area, work route, and application team ready.
If the mixture becomes too stiff to spread properly, don’t use it. Trying to restore flow with water or other unapproved additions risks more problems.
What Happens When Adjacent Floor Sections Are Applied Too Late?
Timing also affects how one section joins the next.
If an earlier section has already started setting, fresh material may not blend smoothly into its edge. The finished floor can show a visible boundary or surface texture change.
This is especially relevant around columns, drains, doorways, and other areas that slow down application.
Pouring sequence should be planned prior to mixing. Where continuous finish is required, adjoining sections should be completed within the suitable working period. Where uninterrupted continuation is not possible, a planned construction break should be established rather than leaving an uncontrolled joint.
Why Do Scraper Marks and Uneven Finishes Appear?
Scraper marks get pretty noticeable once an epoxy colored sand floor cures — especially across large, open areas. They often show up when the coating is spread unevenly or has started to thicken before you finish.
Why Can a Self-Leveling Coating Still Show Scraper Marks?
When flooring coating is poured onto the substrate, the scraper assists in distributing material to the required thickness. The coating then requires sufficient time to settle into a smooth finish.
Where the mixture has begun to stiffen, scraper marks may remain on the surface. Uneven pressure during spreading may also produce thickness variation.
Worth checking the concrete underneath too. A raised patch or shallow depression may still show through the finished coating — even when the epoxy was applied correctly.
How Can Contractors Maintain a More Uniform Finish?
On larger floors, working in manageable sections and maintaining application progress before the previous batch sets is advantageous. Areas around columns, drains, and doorways typically require additional attention, as spreading takes longer there.
Keep thickness consistent and avoid going back over material that’s already becoming stiff. Repeated scraping at this stage leaves more visible marks.
For YURU EFS-1, use the scraper and application method specified for the project. If the coating has lost workable consistency, let the affected area cure and inspect it before deciding on further correction.

What Causes Bubbles, Pinholes, and Soft Areas in Epoxy Colored Sand Flooring?
Bubbles, pinholes, and tacky patches represent problems contractors may observe following application of epoxy colored sand flooring. They can look similar at first — but the causes are often quite different. Check when the problem appeared and whether it affects one small section or a larger area.
Bubbles and Pinholes
Air can get trapped in the epoxy during mixing, or escape from the concrete underneath while the coating is still wet. Either situation may leave marks on the finished floor.
Air Introduced During Mixing
It’s easy to introduce air when mixing two-component epoxy — especially if you stir too aggressively. Some air remains in the coating after pouring, leaving small bubbles as the floor cures.
With YURU EFS-1, the two components need to be mixed thoroughly, but there’s no benefit in whipping unnecessary air into the material. If bubbles appear across an area made from the same batch, it’s worth reviewing how that batch was prepared and applied.
Concrete Substrate Outgassing
Air may originate from the concrete itself. Porous concrete can release trapped gas as temperatures fluctuate, and this gas may traverse the fresh epoxy coating. Small craters or pinholes may remain following bubble rupture.
Sherwin-Williams addresses this phenomenon in its guide to epoxy floor bubbles, including the influence of concrete porosity and changing site conditions.
Where pinholes recur in specific floor areas, examine those concrete zones and verify whether primer has adequately sealed the surface. Application of additional coating without cause investigation may leave the problem unresolved.
Soft, Tacky, or Incompletely Cured Areas
Soft or sticky patches warrant closer examination of material preparation and curing conditions.
For EFS-1, the correct mixing ratio is A:B = 7:1 by weight. If the components were measured incorrectly, or some material around the sides of the bucket wasn’t fully mixed, the affected section may fail to cure as expected.
Temperature and contamination may also influence curing; comparison of the problem area with adjacent sections applied concurrently is useful.
Sherwin-Williams also discusses mixing-related causes of gummy epoxy floors.
Where coating remains soft beyond the expected curing period, overcoating with fresh epoxy is not appropriate. The affected material requires assessment first.
Common Flooring Defects and What to Check
| Floor Problem | Where to Look First |
| Bubbles | Mixing method, trapped air, concrete condition |
| Pinholes | Porous concrete, primer coverage, substrate outgassing |
| Soft or sticky areas | A/B mixing ratio, unmixed material, curing conditions |
| Poor adhesion | Moisture, oil contamination, weak concrete, primer condition |
For a few isolated pinholes, the investigation may be limited to a small area. A large section that remains sticky is more concerning and may require a different repair approach. Check the affected area carefully before deciding how to proceed.
How Long Should Epoxy Colored Sand Flooring Cure?
Once an epoxy colored sand floor is laid, the next question is usually: how soon can we use the space again? The surface may look finished after a few hours — but the coating still needs time to cure before handling regular traffic.
Surface Drying, Through Drying, and Full Performance
According to YURU’s EFS-1 technical data sheet, the coating takes approximately 6 hours to become surface-dry and 24–36 hours for through drying. It continues developing its full performance over roughly 7 days.
These times help with project planning, though curing can take longer or shorter depending on site conditions. During this period, keep water, solvents, and unnecessary traffic away from the floor.
When Can the Floor Be Opened to Traffic?
A floor used by pedestrians has different demands from one carrying loaded forklifts. In warehouses and industrial facilities, premature vehicle access may damage a coating that has not fully cured.
EFS-1 provides general guidance for pedestrian and vehicle access, but the stated times use different starting points. We recommend confirming the opening schedule based on the actual curing conditions and expected loads.
For projects with a tight schedule, it’s best to agree on these requirements before installation begins. That way, the contractor can plan when each area will be ready for use.
What Should Contractors Inspect Before Accepting the Finished Floor?
Prior to handover of an epoxy colored sand floor, the finished area should be systematically inspected. Begin with larger open sections, then examine walls, columns, drains, and doorways. These smaller areas frequently require more careful application and may exhibit finish variations.
What Should Be Checked on the Finished Surface?
Color and texture should be examined across the floor. The finish should correspond to approved project requirements, without obvious bubbles, pinholes, scraper marks, or patches remaining soft.
Joints between application sections warrant attention. Color or texture differences may be more readily identified when viewing the floor from different angles.
Where the project specifies thickness measurements or adhesion tests, these should be completed using agreed methods. Any defects should be documented and assessed prior to handover.
Which Construction Records Are Worth Keeping?
For larger flooring projects, maintaining a simple installation record is beneficial. Where a patch remains sticky or develops a different finish, knowledge of when that section was applied and which batch was used assists in identifying the cause.
A basic site record can cover the following:
Construction Quality Control by Stage
| Work Stage | What to Check | What to Record |
| Surface preparation | Concrete condition, moisture, and repairs | Substrate inspection |
| Mixing | Correct A/B ratio and uniform mixing | Batch number and mixing time |
| Application | Even spreading and surface finish | Application area and time |
| Curing | Site conditions and floor protection | Curing conditions |
| Final inspection | Appearance and required acceptance checks | Inspection results |
There’s no need to make the paperwork complicated. A few clear records, along with photos of any problem areas, can be helpful if the floor needs attention after installation.
Frequently Asked Questions
Does YURU epoxy colored sand floor paint require separate sand broadcasting?
The standard EFS-1 formulation already contains colored sand, so normal application does not require a separate broadcasting step. YURU can also discuss separately packaged colored sand for customers requesting a different product arrangement.
What is the mixing ratio for YURU epoxy colored sand floor paint?
EFS-1 epoxy colored sand floor paint uses A:B = 7:1 by weight. Weigh both components accurately and mix until uniform. Do not add water or change the curing-agent proportion.
Can epoxy colored sand flooring be applied to damp concrete?
EFS-1 epoxy colored sand flooring requires a substrate moisture content of 4% or less. The concrete must also be properly prepared and suitable for coating. Do not apply over visibly wet surfaces or standing water.
What causes uneven color in epoxy colored sand flooring?
Possible causes include uneven mixing, variations in applied thickness, differences between material batches, or inconsistent application between adjoining areas. Check the material and installation records before determining the cause.
When can a newly installed epoxy colored sand floor be used?
YURU’s epoxy colored sand floor lists approximately 6 hours for surface drying, 24–36 hours for through drying, and around 7 days for further performance development. Pedestrian, vehicle, and heavier-service access should be determined according to curing conditions and project requirements.
Conclusion: Better Epoxy Colored Sand Flooring Starts with Better Construction Control
A sound concrete substrate, accurate mixing, manageable batches, and careful application give an epoxy colored sand floor a better chance of reaching the intended finish. If a defect shows up, the next step is to identify which part of the installation may have contributed before deciding on a repair.
For EFS-1 Epoxy Colored Sand Flooring projects, we recommend confirming the substrate conditions and construction plan before work begins, particularly where a large floor needs a consistent decorative appearance.
If you’re planning an epoxy colored sand flooring project or sourcing materials for your customers, contact YURU Waterproof. Share the approximate floor area, substrate condition, preferred color or finish, and project requirements. We can review the relevant EFS-1 product information, available options, and material supply arrangements.
YURU Product solutions